Create a new project guide
This task is done in Settings and maintenance and you must be an administrator.
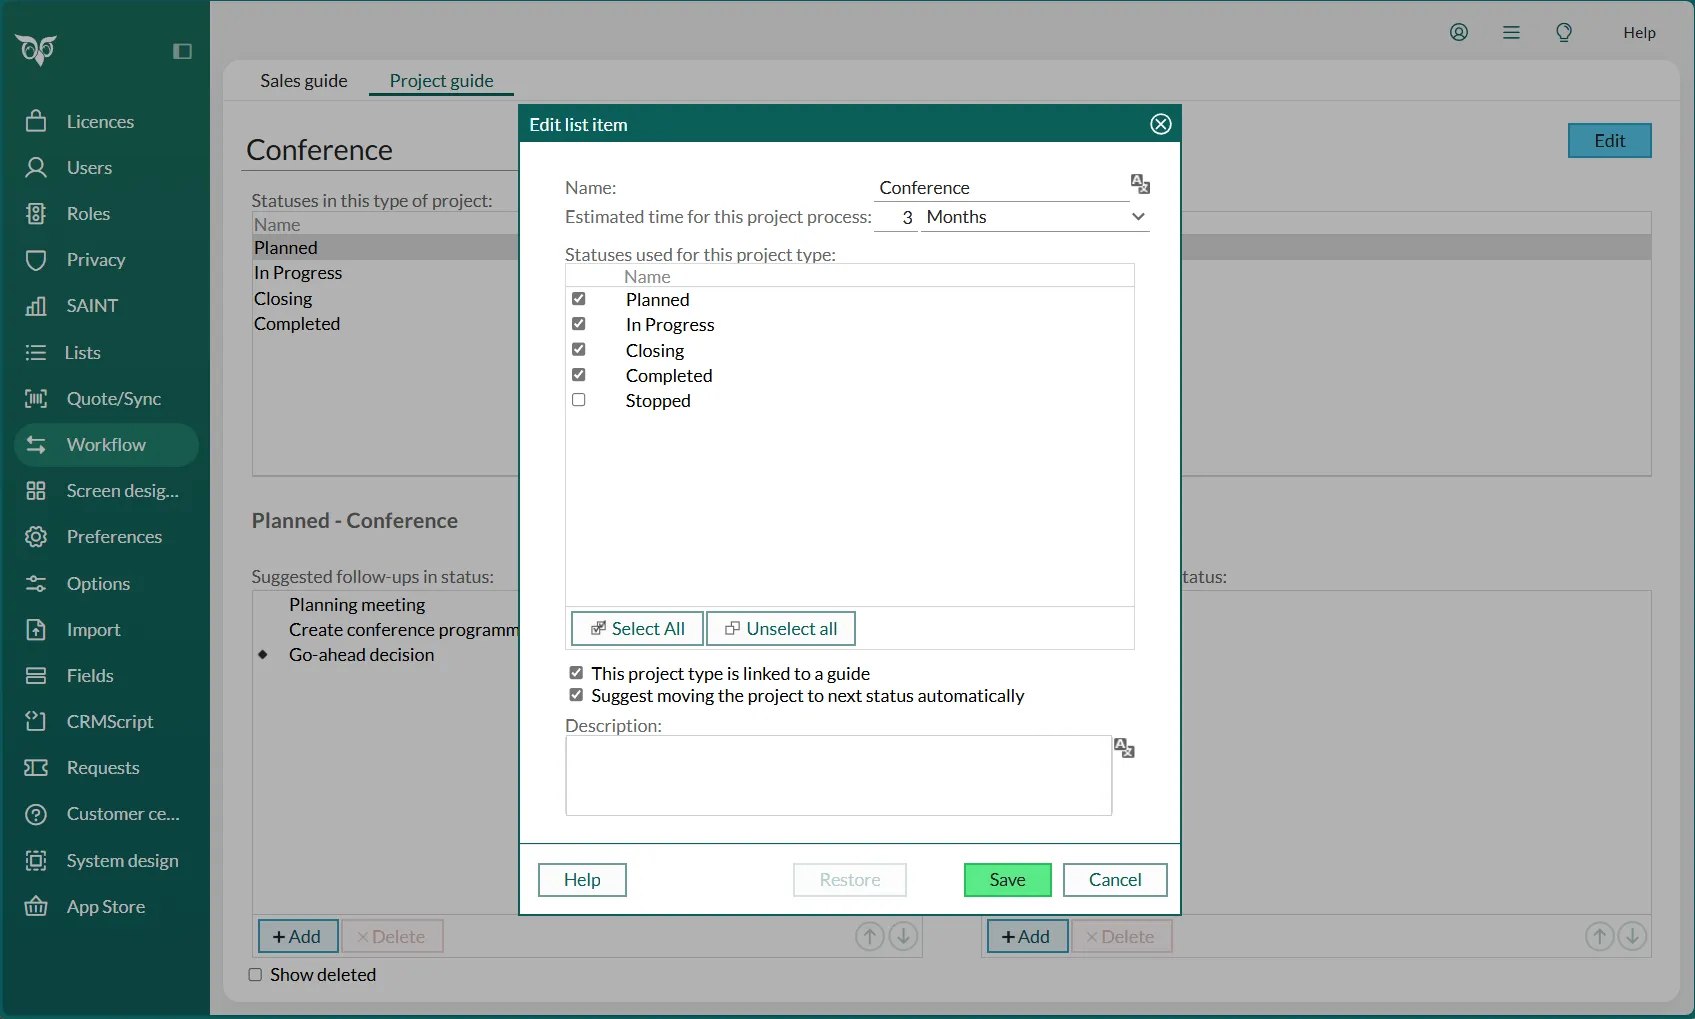
In Settings and maintenance, you define which project types are to be assigned a project guide and which statuses and activities the project guides are to contain. What a project guide looks like can therefore vary.
For example, you may have a project type named Conference. This project type may be linked to a project guide containing the following statuses, follow-ups and documents:
| Statuses | Follow-ups | Documents |
|---|---|---|
| Planned | Planning meeting (Meeting (Internal)) | Conference programme (Note) |
| In progress | Create list of project members (Task); Conference (Meeting (External)) | Conference invitation (Letter) |
| Closing | Evaluation meeting (Meeting (Internal)) | Evaluation report (Note) |
This procedure shows you how to create a project guide from scratch.
- Define statuses to include in the project guide.
- Define the project type (with associated statuses) to link the project guide to.
- Design the project guide.
Create statuses for the project guide
A project guide must be linked to a project type, which in turn consists of several statuses. How to create a status.
For example, a project guide for a project of the Conference type could have statuses Planned, In progress, and Closing.
Go to the next procedure to link the statuses to a project type.
Create a project type for the project guide
A project guide must be linked to a project type. How to create a project type.
Examples of project types: “Conference”, “Campaign”, “Internal”.
- Check This project type is linked to a guide.
- Select at least two statuses.
- Go to the next procedure to create the project guide.
Create a project guide
After you create statuses and specify a project type for the project guide, you can design the project guide itself. You do this by adding follow-ups and/or documents for each status in the project guide.
-
Select Workflow in the Navigator.
-
Go to the Project guide tab.
-
In the Project type list, select the project type you want to create a project guide for. The statuses selected for this project type are displayed in the list above.
🛈 NoteIf the project type is not set up to have a project guide, click Click here to enable guide at the bottom of the screen. -
Select the required status in the list. The status’s details are shown at the bottom of the screen.
-
Add one or more follow-ups for the selected status.
🛈 NoteYou do not have to add a document for each status, but you should add at least one follow-up for each status. -
Repeat steps 4-6 for each status you want to add follow-ups and documents for.
The changes are saved automatically. The project guide will now be displayed in SuperOffice CRM when a project is created with the project type selected in step 2.
Add a follow-up for a status
-
Select the required project type and status as described above.
-
Click Add under Suggested follow-ups in status.
-
In the Suggested follow-up dialog, enter the name of the follow-up in the Name field. This should be a descriptive name for the follow-up.
-
Enter the purpose of the follow-up, in the The purpose of this follow-up field. This text is displayed when you hold the mouse-pointer over the follow-up in the Project guide section tab in SuperOffice CRM.
🛈 NoteSome of the options before are, for logical reasons, not relevant for the first follow-up in a project guide. -
Check Assign follow-up to project member to make it possible to assign this follow-up to one of the project participants. When the project owner creates this follow-up in SuperOffice CRM, they can choose one of their associates to be the owner of the follow-up.
-
Check Milestone follow-up to define the follow-up as a milestone.
-
Select a type for the follow-up in the Follow-up type list.
-
In the Start date field, enter when the follow-up should start, as the number of days from today.
-
In the Duration field, specify how long the follow-up should last. The format is 0h00m.
-
In the Default text in follow-up field, enter a description for the follow-up.
🛈 TipThe user can change the above information as required. -
Click Save.
-
Repeat this procedure to add more follow-ups in this or other statuses.
Example of a follow-up
- Project type: Conference
- Status: Planned
- Name of follow-up: Planning meeting
- Purpose of this follow-up: Hold a meeting to plan the conference and set out a conference programme.
- Follow-up type: Meeting (Internal)
- Duration: 1 hour
- Default text:
Planning meeting:
- What should the conference cover? - Attendees? - Speakers? - Where?
Add a document for a status
- Select the required project type and status as described above.
- Click Add under Suggested documents in status.
- In the Suggested document dialog, enter the name of the document in the Name field. This should be a descriptive name for the document.
- Enter the purpose of the document, in the The purpose of this document field. This text is displayed when you hold the mouse-pointer over the document in the Project guide section tab in SuperOffice CRM.
- Select the required template in the Template field.
- Enter the subject to be used in the document in the Default subject field.
- Enter any reference in the Our ref. field. For example, a template variable for a project number, project title or another field relating to the project.
- Click Save.
- Repeat this procedure to add more documents in this or other statuses.
Example of a document
- Project type: Conference
- Status: Planned
- Name of document: Conference programme
- Purpose of this project status: Set out a programme for the conference.
- Template: Note
- Default subject: Conference programme