How to set up SharePoint permissions for documents
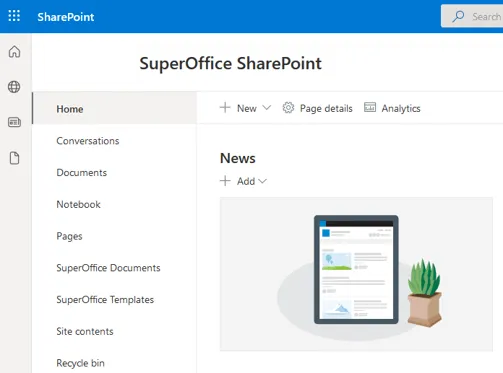
Step 1 – Navigate to the site where the SuperOffice document library reside
To give users permissions to create, delete and edit SuperOffice documents in SharePoint, you need to give them access / permissions to the site where the document library reside.
This will give them access to the document library too.
Step 2 – Navigate to Advanced permissions settings
-
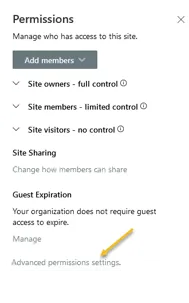
In your SuperOffice document Site - click on the cog-wheel and then Site permissions.
-
Click on Advanced permissions settings.
Step 3 – Grant permissions
-
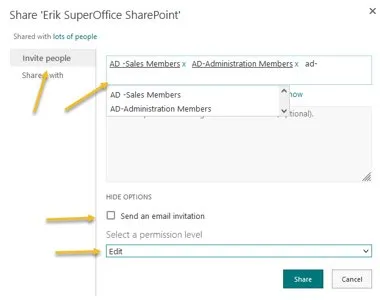
Click on Grant Permissions.
-
In Invite people, type in and add Microsoft Entra domain groups. Members of these groups will automatically get access.
⚠️ Warning -
Tick off Send an email invitation. (There will be a lot of emails that the users will wonder about.)
-
Make sure the permission level is Edit.
-
When your done adding groups, press Share.
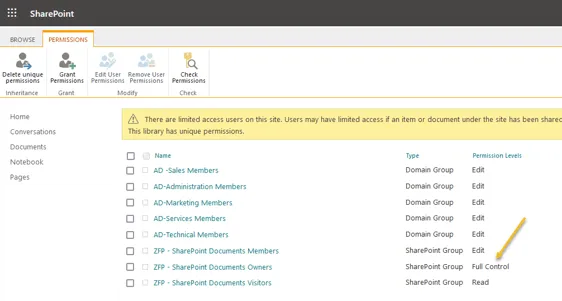
Step 4 – Review the SharePoint site groups
Members of the SharePoint site group Owners (Permission Levels Full Control), will have access to all content on that site. Including all folders and documents.
Make sure there are no user accounts in this group. Only service accounts.